


Cupcake Toppers: Design Templates, DIY Tutorials & Theme Inspiration
You know the moment. You have two dozen perfectly baked cupcakes cooling on the counter. They taste amazing. The frosting is fluffy. But they look… plain. They look like cupcakes you could grab at the grocery store on a Tuesday. They don’t scream “Dinosaur Stomp” or “Princess Gala” or “40th Birthday Bash.” This is where cupcake toppers change everything.
They are the great equalizer in party planning. You might not have the skills to pipe elaborate buttercream roses. You might not have the budget for a three-tier custom bakery cake. But if you place the right topper on a simple frosted cupcake, you instantly have a themed centerpiece. Toppers transform a vanilla cupcake into a specific, personalized statement. They are the difference between “I brought cupcakes” and “I designed a dessert table.”
However, getting that professional look isn’t always straightforward.
We have all been there. You scour Pinterest and see incredible, intricate designs. Then you head to the craft store, buy random cardstock, and end up with toppers that curl in the humidity, fall off their toothpicks, or show grease spots from the buttercream. Or perhaps you turn to Etsy, only to find that custom orders cost more than the cupcakes themselves and won’t arrive in time.
I wrote Birthday Cakes and Cupcakes: The Complete Celebration Guide, to give you an overview of how cakes and cupcakes fit into your celebration. But that guide couldn’t hold everything. It couldn’t tell you exactly which weight of cardstock prevents curling & it couldn’t show you how to hide the glue gun lumps. It couldn’t explain why your edible ink images are melting.
That is why this guide exists. I am going to walk you through the entire process of creating professional-quality cupcake toppers & I won’t just tell you to “print and cut.” This guide will explain the material science behind why some papers work and others fail. I will show you how to design your own templates if you can’t find what you need. Whether you are a total beginner with a pair of scissors or a seasoned crafter with a Cricut machine, this guide gives you the playbook. By the end, you will be able to look at a photo of a high-end topper and say, “I can make that.” And honestly? Yours might turn out even better.

Cupcake Topper Types: Matching Format to Your Party Needs
Before you buy a single sheet of paper or block of fondant, you need to choose the right format. It is tempting to pick a style just because it looks pretty on Instagram. However, the success of your DIY cupcake toppers depends on matching the type to your skills, your timeline, and your party environment.
Paper and Cardstock Toppers — The DIY Workhorse
Paper-based toppers are the most accessible entry point for DIY party planning. They are forgiving, affordable, and incredibly versatile. If you make a mistake with paper, it costs pennies to fix. If you mess up fondant, you have wasted expensive ingredients and hours of time.
Single-Sided Flat Toppers These are the simplest version. You cut a shape from cardstock and attach it to a stick. The design faces the front, and the back shows the plain cardstock and the stick attachment. These work perfectly for cupcake displays arranged against a wall or on a tiered stand where guests only see the front. I love these for large events where I need to produce fifty or more toppers quickly. They use half the material and take half the time.
Double-Sided Toppers If your cupcakes will be displayed on a central table where guests circulate, you need double-sided toppers. This style features the design on both sides, sandwiching the stick in the middle. It solves the “unfinished back” problem and looks polished from every angle. While they require twice the cutting and printing, the result feels much more like a high-end party supply product.
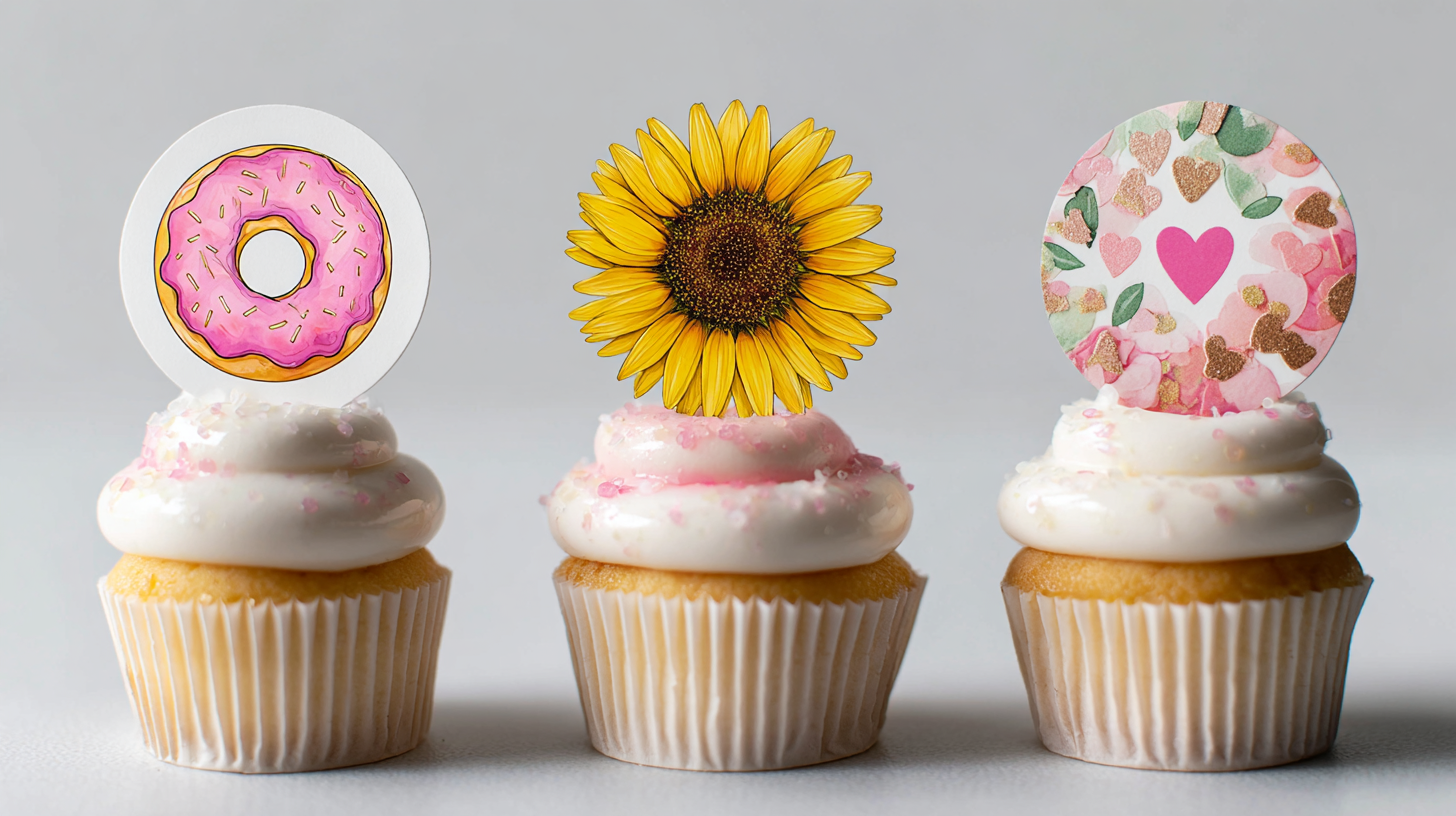
Layered Dimensional Toppers This is where you move from “homemade” to “professional.” Instead of printing a flat image of a circle with a number inside, you cut a large scalloped circle from colored cardstock. Then, you cut a smaller white circle. Finally, you cut a number from glitter paper. Stack them up with foam spacers, and you have a 3D effect. Layered toppers capture light and shadow, adding depth that flat printing cannot mimic.
Edible Toppers — When Food Should Top Food
Edible toppers are fantastic because they are entirely safe. You don’t have to worry about a toddler accidentally chewing on a plastic pick or paper getting stuck in the frosting.
Fondant Toppers Fondant is essentially edible playdough. You can mold it into tiny characters, flowers, or letters. It dries firm, holding its shape perfectly on top of buttercream. However, fondant requires lead time. You usually need to make these at least 24 to 48 hours in advance so they can harden. If you put fresh, soft fondant on a cupcake, it tends to droop.
Wafer Paper and Edible Images This is the technology solution. Using an edible ink printer, you print designs onto rice paper or frosting sheets. It is the only way to get a photorealistic image—like the birthday child’s face—onto a cupcake. If you don’t own the expensive printer, many bakeries or online shops will print sheets for you. You just cut and apply.
Royal Icing and Chocolate Royal icing decorations are piped sugar shapes that dry rock-hard. Think of those little sugar flowers you buy at the store—you can make those custom. Chocolate toppers, either molded or piped, add a rich flavor profile. However, remember that chocolate melts. If your party is outdoors in July, chocolate toppers will lose their shape before the candles are lit.
Novelty and Dimensional Toppers
Sometimes, the best topper isn’t paper or sugar. It’s a toy.
Pick-Mounted Figurines For a dinosaur party, a small plastic dinosaur glued to a food-safe pick is often more exciting to a child than a paper cutout. The topper becomes a party favor. You can find miniature figures for almost any theme, from superheroes to farm animals.
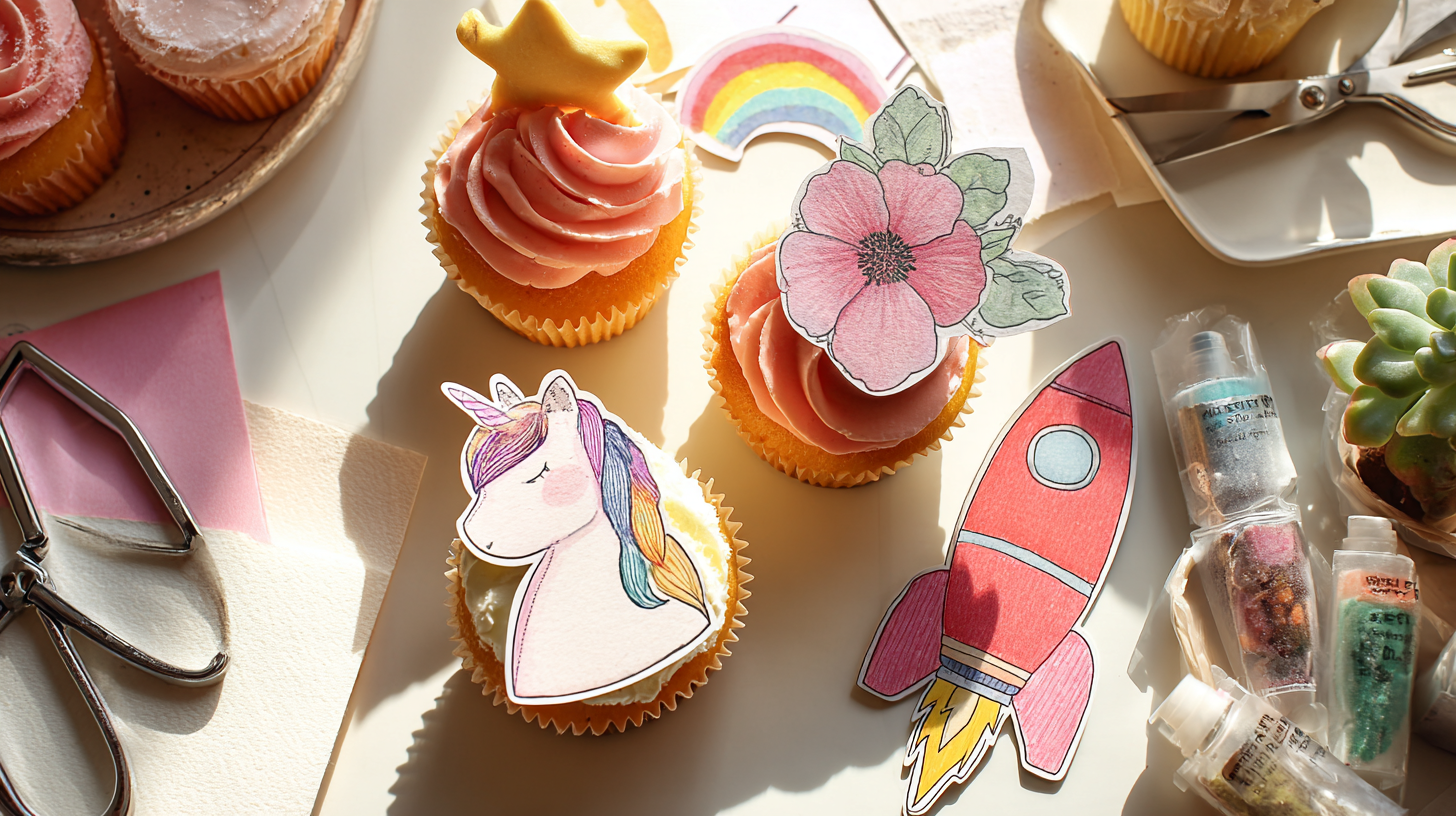
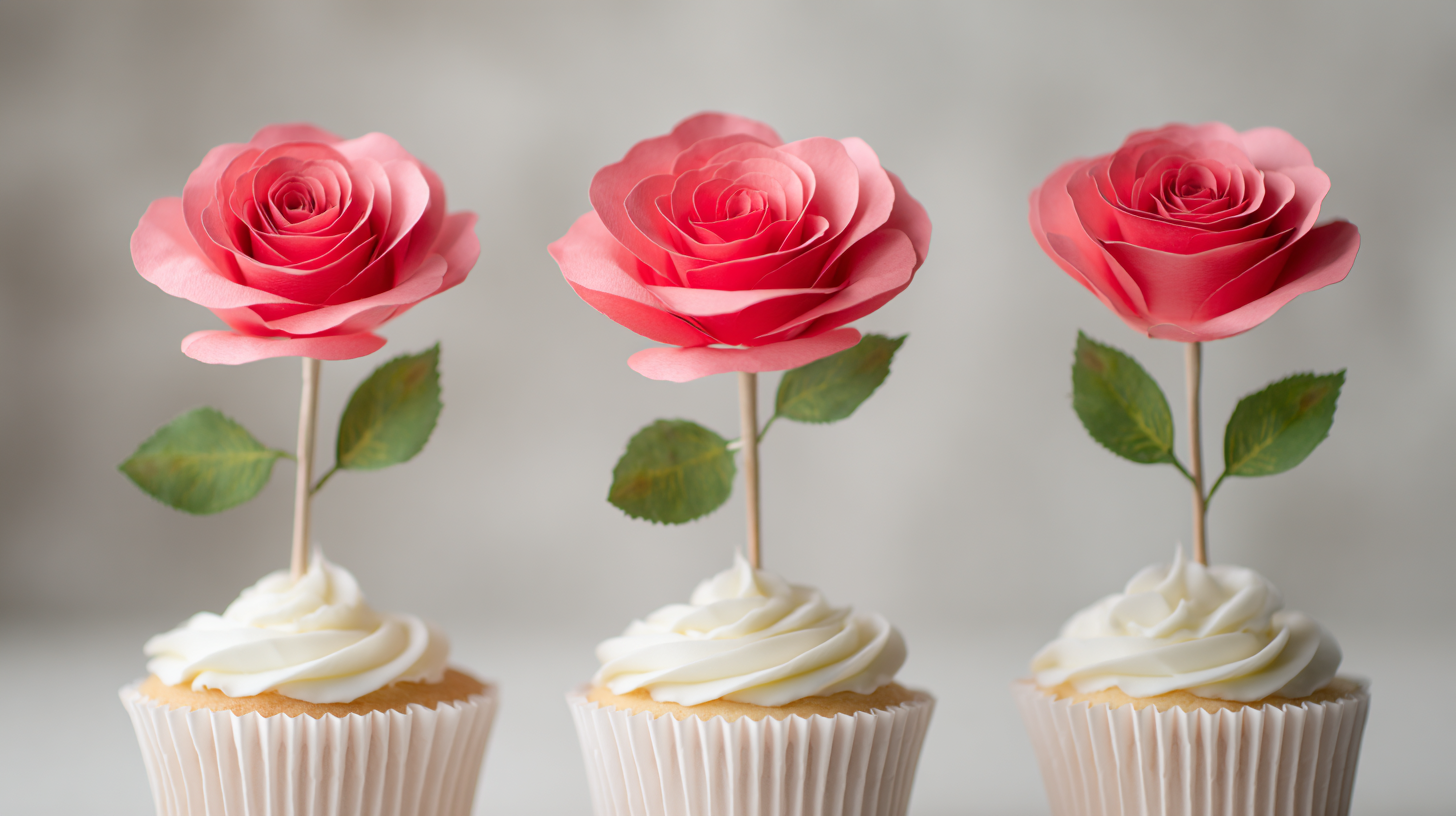
Fabric and Natural Elements I have made adorable toppers using tiny fabric flags, ribbon bows, or even tulle pom-poms. These add texture that breaks up the visual monotony of frosting. Similarly, fresh flowers or herbs create an elegant, organic look for bridal showers or adult birthdays. Just ensure any non-food item is mounted safely and doesn’t shed fibers into the cake.
Matching Topper Type to Party Context
Do not just choose the style you like best. Choose the style that survives your party.
First, look at your production quantity. Making six elaborate fondant unicorns is a fun afternoon project. Making forty-eight of them is a nightmare that will keep you up until 3 AM. For large crowds, paper toppers are your best friend because they scale easily. Cutting forty circles doesn’t take much longer than cutting four.
Second, consider the environment. I once made beautiful chocolate monograms for an outdoor summer wedding. They looked perfect indoors. Ten minutes after moving them to the dessert table in the humidity, they were puddles. Humidity also destroys wafer paper (it curls) and makes fondant sticky. If you are partying outdoors, plastic or laminated paper are the safest bets.
Finally, be honest about your budget and skills. Edible images look pro, but the equipment is pricey. Fondant is cheap but requires artistic sculpting skills. Paper and cardstock are inexpensive and forgiving. There is no shame in choosing a simpler method that you can execute perfectly. A clean, well-made paper topper looks infinitely better than a messy, cracked fondant sculpture.
Cupcake Topper Materials: The Complete Guide to What Actually Works
If you take nothing else away from this guide, let it be this: materials matter. You cannot build a house out of straw, and you cannot build professional DIY cupcake toppers out of standard printer paper. I have seen countless projects fail simply because the crafter used the wrong weight of paper or the wrong type of glue.
Paper and Cardstock — Getting the Details Right
Walk down the paper aisle, and it all looks similar. It isn’t.
Cardstock Weight This is the most critical variable. Standard copy paper (20 lb) is useless for toppers. It absorbs moisture from the air and the frosting, curling up like a dying leaf within an hour.
- Light Cardstock (65 lb): This is the standard “craft” paper in value packs. It is okay for small toppers (under 1.5 inches) or for backing layers. However, for a standard 2-inch topper, it is a bit floppy.
- Medium Cardstock (80-90 lb): This is the sweet spot. It is sturdy enough to stand up straight but pliable enough to cut easily with scissors or a consumer craft machine.
- Heavy Cardstock (100-110 lb): This creates a rigid, store-bought feel. It is excellent for single-layer toppers because it doesn’t bend. However, it can be hard to cut intricate details into this weight without tearing.
Grease Resistance Here is a secret most tutorials don’t tell you. Buttercream frosting contains fat. Cardstock absorbs fat. If you stick a paper topper directly into frosting, over the course of two hours, the grease will migrate up the paper, creating dark, translucent blotches. It looks unappetizing. To prevent this, I always ensure the paper sits slightly above the frosting line on the pick.
Finish and Texture Matte cardstock is safe but can look a bit dull. Glossy cardstock pops in photos, but be careful handling it—glue smears show up instantly. Glitter cardstock is fantastic for impact, but buy “no-shed” glitter paper. Otherwise, your cupcakes will be covered in non-edible glitter dust.
Picks, Sticks, and Supports — The Foundation
The stick is the skeleton of your topper. If it fails, the design fails.
Toothpicks I generally avoid standard toothpicks. They are too short, meaning your decoration sits right in the frosting (hello, grease spots). Toothpicks are also often rough and splintery. They scream “homemade” in the wrong way. Use them only for very tiny, lightweight accents.
Lollipop Sticks These are my gold standard. You can buy them in bright white paper or plastic. They come in 4-inch and 6-inch lengths, giving you plenty of height to float the design above the frosting. Lollipop sticks are uniform, smooth, and food-safe. They provide a sturdy anchor that won’t bow under the weight of a layered topper.
Bamboo Skewers These are useful when you need height but want a thinner profile than a lollipop stick. They are strong but can be sharp. If I use these, I cut the sharp point off the top end (the end inside the topper) so it doesn’t poke through the paper.
Attachment Methods How you attach the stick is just as important as the stick itself.
- Hot Glue: It is fast and strong. However, it creates a “bump.” If you are making double-sided toppers, that bump prevents the two sides from laying flat against each other unless you apply them at the same time. This presses the glue between the layers, for a flatter and smoother topper.
- Double-Sided Tape: It lays flat but isn’t very strong. The topper might slide down the stick.
- The Pro Method: I use a hot glue gun on the “low” setting. I apply a flat line of glue, press the stick in, and then immediately press the backing layer over it while the glue is warm. This flattens the glue out, securing the stick without creating a massive lump.
Adhesives, Laminates, and Sealants
These are the invisible heroes of your project.
Adhesives For layering paper on paper, I prefer a tape runner or glue stick. Wet craft glue (like PVA) contains water, which warps paper. If you apply wet glue to cardstock, it will ripple as it dries. Dry adhesives keep the paper flat. For attaching heavy elements or rhinestones, you need a strong dot of liquid craft glue or a tiny dab of hot glue.
Laminates If you are worried about grease or outdoor humidity, lamination is the answer. You can buy self-adhesive laminating sheets that don’t require a machine. Stick your printed sheet to the laminate, smooth it out, and then cut. This creates a wipeable, waterproof surface. It is essential if you are putting photos of people on cupcakes—moisture damage on a photo looks terrible.
Food-Safe Sealing Method For a less plastic look, use a food-grade confectioner’s glaze (edible shellac) or melted food-grade beeswax. Take your cut toppers, lay them flat on cardboard, and apply a very thin brush coat on both sides. This seals the paper fibers, blocks grease, and keeps colors vibrant without adding shine or stiffness. Let them dry completely for 30–60 minutes before use. This method is fully food-safe and requires no off-gassing.
Edible Material Essentials
If you are going the edible route, specific brands matter.
Fondant and Gum Paste For toppers, regular fondant is often too soft. It takes forever to dry. I recommend mixing fondant with a little Tylose powder (CMC powder). This turns it into gum paste, which dries much harder and faster. Or, just buy pre-made gum paste. It rolls thinner and holds detail better.
Chocolate vs. Candy Melts Real chocolate requires tempering—a process of heating and cooling to stabilize the cocoa butter. If you skip this, your chocolate will be soft, streaky, and melt instantly in your hand. For beginners, I always recommend “Candy Melts” or “Compound Chocolate” (brands like Wilton or Ghirardelli Melting Wafers). They don’t contain cocoa butter, so you just melt, mold, and cool. They have a satisfying snap and are much more heat-stable for parties.
Step-by-Step: Creating Professional Paper Cupcake Toppers
Now that you understand the materials, let’s build the most popular style: the layered paper topper. This is the versatile, reliable option that works for 90% of parties.
Design Preparation — Before You Cut Anything
Do not just start cutting. That is the road to frustration.
Sketch and Scale First, visualize your design. A standard cupcake is about 2.5 to 3 inches wide. Your topper should typically be between 1.5 and 2.25 inches wide. Anything larger looks top-heavy; anything smaller gets lost. Sketch your layers. Maybe a 2-inch scalloped circle in blue, a 1.75-inch white circle, and a central image.
Source Your Art If you are using text (like “Happy Birthday” or a number), choose a bold font. Thin, spindly fonts are impossible to cut out and hard to read from a distance. If you are using images, ensure they are high resolution. A blurry JPEG looks even worse when printed and cut out.
The Test Print This is non-negotiable. Print one copy of your design on plain cheap paper. Cut it out roughly and hold it up to a real cupcake (or a muffin). You will be amazed at how often a design looks huge on screen but tiny in reality, or vice versa. Adjust the scale now, before you use your expensive cardstock.
Cutting Techniques — Clean Edges Make the Difference
The difference between a craft project and a professional product is the edge quality. Jagged, fuzzy edges ruin the illusion.
Scissors If you are using scissors, use small, sharp embroidery scissors for details. Move the paper, not the scissors. Keep your scissor hand steady and rotate the paper into the blades. This gives you smooth curves instead of choppy polygons.
Craft Punches For circles and scallops, buy a lever punch. Seriously. Trying to cut perfect circles by hand is maddening. A 2-inch circle punch costs about ten dollars and will save you hours of time. You turn the punch upside down so you can see exactly where you are cutting, line up your design, and squeeze. Perfect edge, every time.
Cutting Machines (Cricut/Silhouette) If you have one, use it. These machines allow you to do “print and cut.” You print the design with registration marks, and the machine scans them and cuts exactly around the edge. This allows for intricate shapes—stars, dinosaurs, silhouette heads—that are impossible to cut cleanly by hand.
Assembly Techniques — Putting It All Together
Here is my assembly line process for stress-free construction.
- Prep Your Station: Lay out all your back layers, front layers, sticks, and adhesive.
- The Sandwich Method: Place your back layer (or the back piece of a double-sided topper) face down on the table.
- Apply Adhesive: Put a line of glue (hot glue or strong tape) down the center.
- Place the Stick: Press the lollipop stick into the glue. Ensure every stick extends the same amount (e.g., 3 inches) below the paper so your display looks uniform.
- Seal It: Immediately press the top layer (or front design) onto the glue/stick combo.
- Press and Hold: Apply gentle pressure for a few seconds to ensure the glue spreads flat.
Insider Tip: If you are making single-sided toppers and want to hide the stick on the back, cut a small strip of matching cardstock or a small circle and glue it over the stick attachment point. It looks much tidier than a blob of dried glue.
Finishing Techniques — The Professional Polish
This final step is what elevates your DIY cupcake toppers.
The Marker Trick If you cut black or dark blue cardstock, the core of the paper is often white. When you cut it, that white core shows as a bright white outline on the edge. It looks unfinished. Take a marker that matches the cardstock color and run it along the edge of the cut paper. It takes seconds, but it makes the topper look like it was die-cut from solid colored plastic.
Dimensional Accents Flat printing is boring. Add texture. A tiny dab of glitter glue on a unicorn horn, a small adhesive rhinestone on a flower center, or a pop of glossy accents (like Glossy Accents medium) on a character’s eyes makes the topper come alive.
Quality Control Before you pack them away, hold each topper up to the light. Trim any stray glue strings (hair dryer heat melts them away!). Check for loose sticks. Make two or three extras, because someone will drop one into the punch bowl.
Cupcake Topper Templates: Finding, Using, and Creating Your Own
You don’t always have to start from scratch. The internet is full of resources to help you.
Finding Quality Templates
Free vs. Paid You can find thousands of free templates online. The quality varies wildly. Many are low-resolution or come in file formats that are hard to edit. Paid templates (usually on sites like Etsy or Creative Market) are generally higher quality, editable, and come with support if you get stuck. For the price of a cup of coffee, buying a well-made template can save you three hours of frustration.
Licensing Be careful here. Most templates are for “Personal Use Only.” This means you can use them for your kid’s birthday party. You cannot print them out and sell the finished toppers on Facebook Marketplace. If you plan to sell, you need a commercial license.
Using Templates Effectively
Check Your Settings When you print a PDF template, your printer dialog box will try to be helpful. It might select “Fit to Page” or “Shrink to Fit.” Do not do this. It will shrink your 2-inch circles to 1.8 inches, and your punch won’t fit anymore. Always select “Actual Size” or “Scale: 100%.”
Paper Alignment If you are printing double-sided templates, printer alignment is tricky. Paper shifts as it moves through the rollers. I rarely recommend printing double-sided on a single sheet for this reason—the back almost never lines up perfectly with the front. It is usually easier to print two separate single-sided sheets and glue them back-to-back.
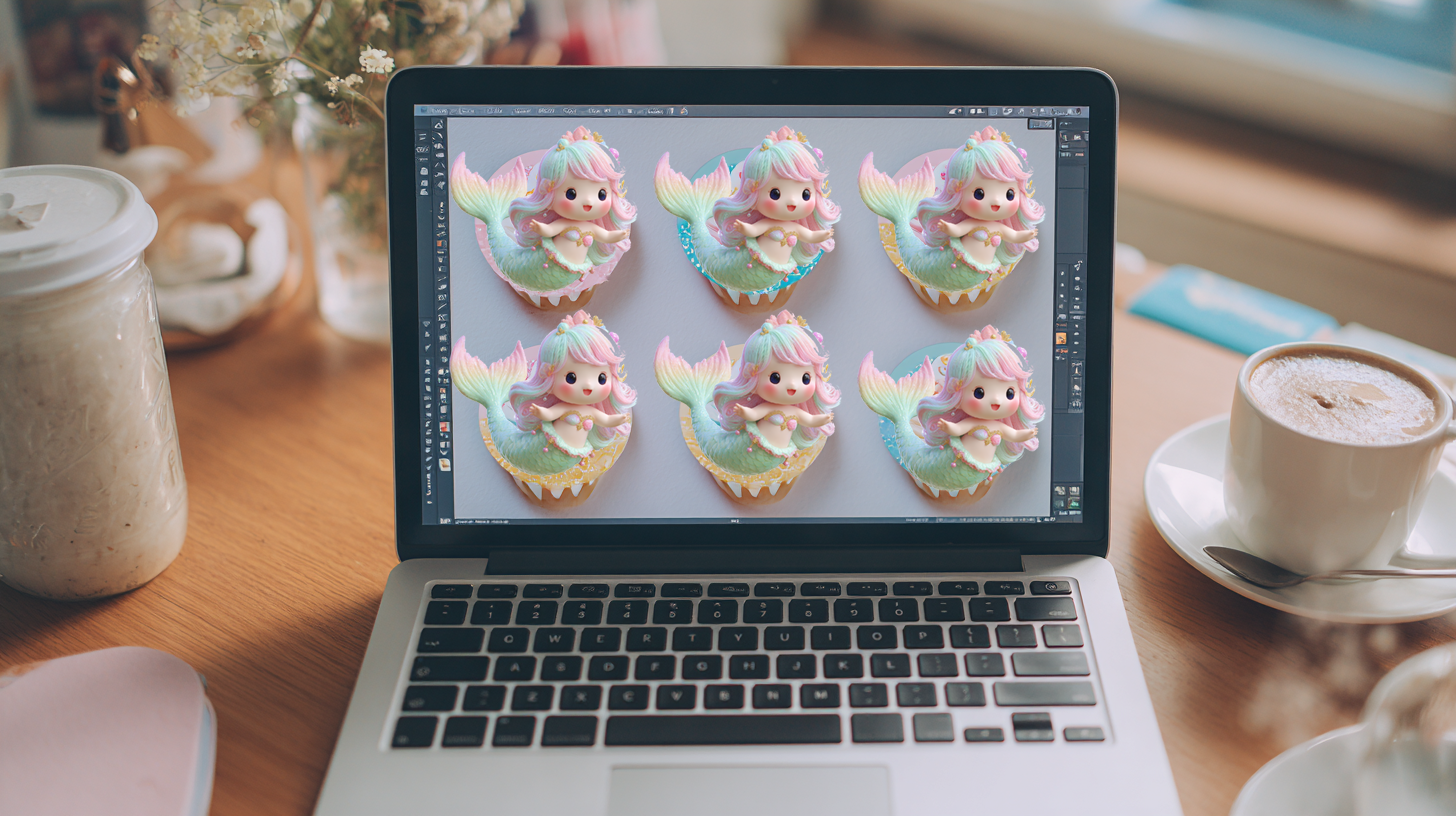
Creating Your Own Templates
If you have a specific vision, making your own template is easier than you think.
Canva You do not need Photoshop. Canva is fantastic for this.
- Create a design with custom dimensions (8.5 x 11 inches).
- Use the “Elements” tab to find a circle frame. Size it to 2 inches.
- Drag your photo or theme image into the frame.
- Add your text.
- Copy and paste that circle until you fill the page (usually 12 to a sheet).
- Download as a “PDF Print” for the highest quality.
PowerPoint/Google Slides Even these basic tools work. Insert a shape, set the size to 2 inches in the format options, fill it with your image, and duplicate. It is not fancy, but it gets the job done for simple geometric toppers.
Save Your Work Create a folder on your computer for “Topper Templates.” Save your files. Next year, when you need toppers for a different theme, you already have the layout file with the correct sizing. You just swap the images and change the colors. You have built your own template library.
By now, you should feel confident about choosing your materials and handling the basic construction. But what about when you want to get fancy? In the next section, we are going to explore advanced techniques and specific sourcing strategies to take your party planning to the next tier.
Cupcake Topper Ideas by Theme: Inspiration You Can Actually Use
Now that you have the techniques down, the question becomes: what exactly should you make? It is easy to get stuck in “analysis paralysis” scrolling through Pinterest. Instead of vague concepts, here are specific, executable ideas for the most popular party categories. You can adapt these designs using the paper or edible methods we discussed in part one.
Children’s Party Themes — The Classics That Never Fail
Kids want immediate recognition. They want to look at the cupcake and shout, “Dinosaur!” Complexity matters less here than clarity and bold colors.
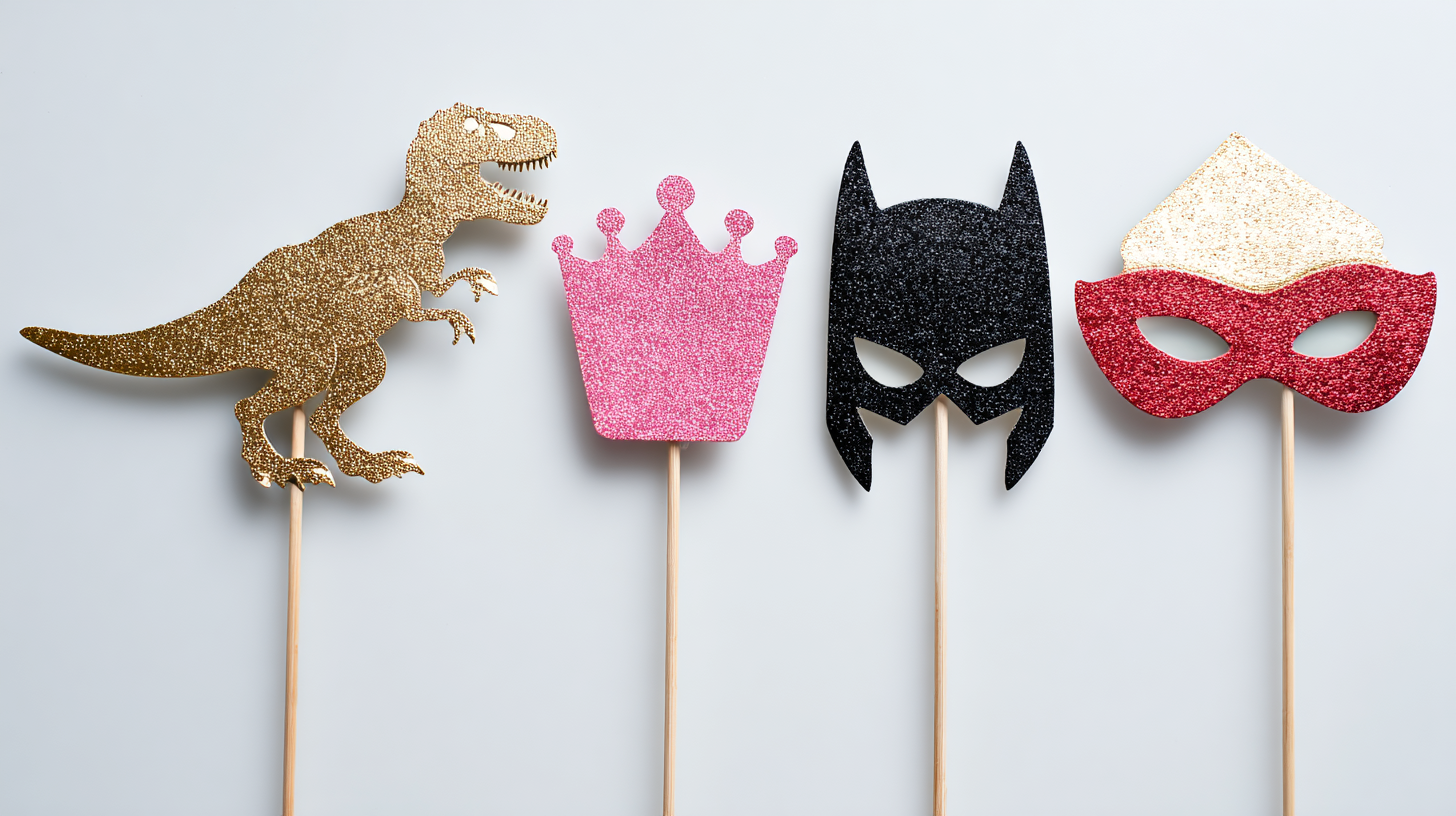
Dinosaur Parties
This theme is a perennial favorite. For a quick DIY win, cut simple silhouettes of T-Rex, Triceratops, and Brachiosaurus shapes from dark green and brown cardstock. Mount them on wooden picks. To add dimension without much effort, cut a “volcano” triangle from grey paper, layer a jagged orange “lava” piece on top, and place a small dinosaur silhouette at the base. If you prefer not to craft, plastic mini dinosaurs from the toy aisle make excellent cupcake toppers. Just wash them well and mount them on sturdy lollipop sticks with hot glue.
Princess and Fairy Tales
You can’t go wrong with glitter. Gold glitter cardstock is your best friend here. Cut simple crown or tiara shapes—using a punch or a machine—and mount them on pink or purple backing circles for stability. For a magical touch, make “wand” toppers: cut a star from glitter paper and mount it on a longer-than-usual stick (like a 6-inch stick) with a few strands of curling ribbon tied just under the star. It creates height and movement on your dessert table.
Superhero Adventures
To avoid copyright headaches with specific logos, lean into the comic book aesthetic. Cut jagged “burst” shapes in bright yellow and layer red text on top that says “POW,” “ZAP,” or the birthday child’s age. Simple eye mask silhouettes in black or primary blue allow every guest to imagine their own hero. For a dramatic look, cut a cityscape silhouette (black rectangles of varying heights) to place behind a colorful foreground element like a lightning bolt.
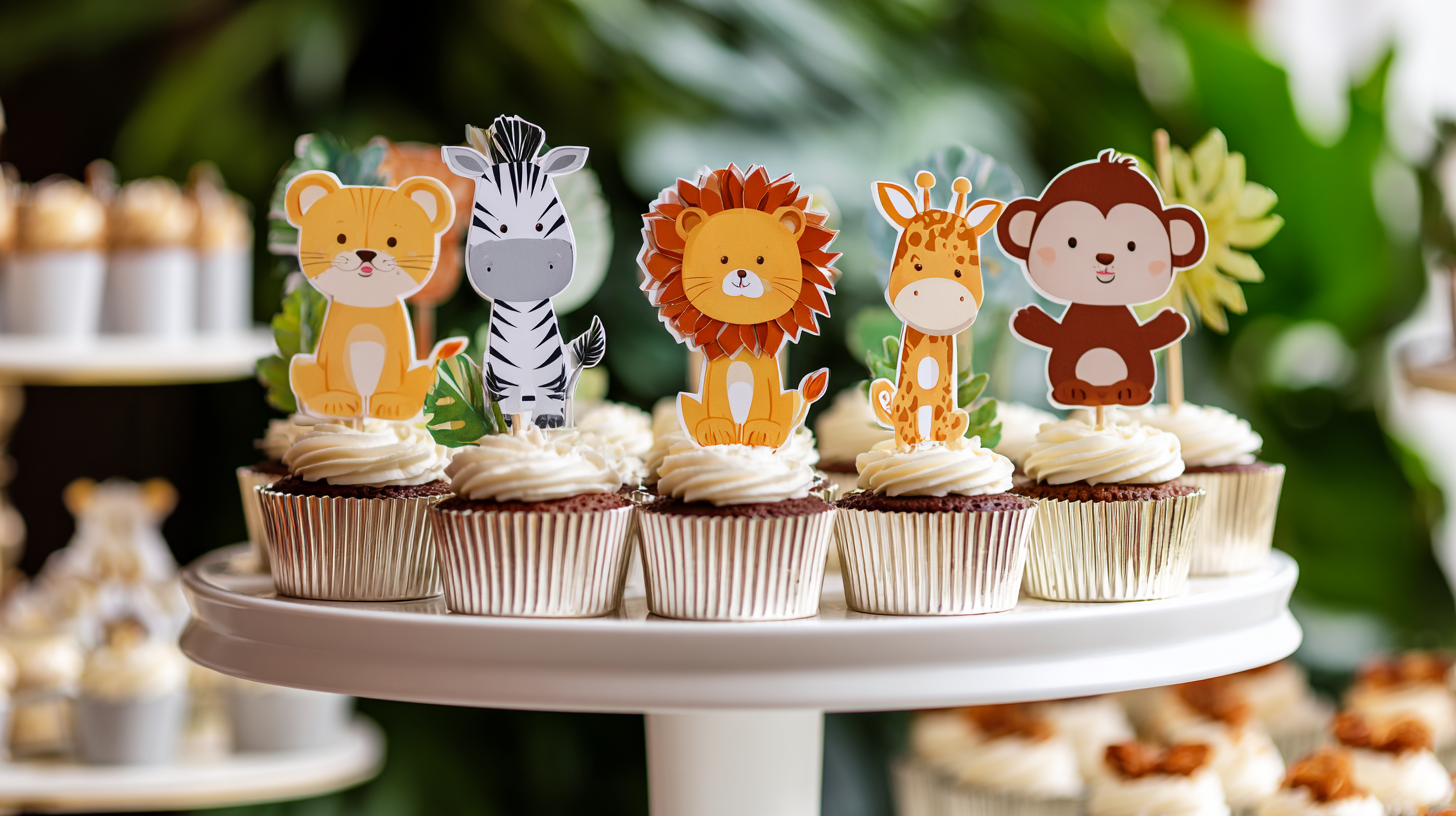
Animal Menageries Whether it is a farm, safari, or woodland theme, silhouettes are the most elegant and easiest route.
- Safari: Gold animal silhouettes (lion, elephant, giraffe) glued onto monsterra leaf shapes cut from dark green paper.
- Farm: Red barn shapes are simple to cut (a square with a triangle top). Add a white “door” and a small animal sticker.
- Ocean: Use circle punches to create “bubbles” from translucent vellum paper to layer behind fish or shark cutouts. It adds an underwater feel instantly.
Milestone Birthday Themes — Age-Appropriate Elegance
Milestone birthdays require toppers that act as keepsakes or sophisticated decor.
First Birthdays The “Wild One” or “One-derful” themes are huge. A large, gold glitter “ONE” script cutout is classic. Since photos from this party last forever, consider investing in photo toppers. Print a black-and-white photo of the birthday child wearing a party hat, cut it into a circle, and mount it on a colored scalloped backing. It is personal, adorable, and looks great on camera.
Sweet Sixteen and Quinceañera These events often rival weddings in formality. Match the toppers to the gown or decor colors. If the dress is teal, use teal cardstock layered with silver. Numbers like “15” or “16” in an elegant script font look polished. I often add a small rhinestone to the dot of the “i” or the curve of the number for a bit of sparkle that catches the light.
The Big Decades (30, 40, 50, 60) You have two paths here: elegant or humorous.
- Elegant: Stick to black, gold, silver, or rose gold. Use geometric shapes (hexagons are very trendy) framing the age number. A simple “40” in black glitter on a gold hexagon looks chic and appropriate for a dinner party.
- Humorous: Proceed with caution. Know your audience. If they have a good sense of humor, “Vintage 1984” designed like a wine label is a clever approach. “Over the Hill” gravestones are a classic gag, but make sure the birthday person will actually laugh.
Seasonal and Holiday Birthday Themes
When a birthday falls near a holiday, leaning into the season makes decorating easier.
Winter Birthdays If the party is in December but not Christmas-themed, use snowflakes. Intricate snowflake cutouts (best done with a machine) in white and silver look stunning on blue frosting. They acknowledge the season without screaming “Santa.” For a “Winter One-derland,” combine snowflakes with polar bear silhouettes or silver glitter pine trees.
Summer Celebrations Think bright, saturated colors. Hot pink, turquoise, and sunny yellow. Shapes like flip-flops, sunglasses, and watermelon slices work beautifully. Since summer parties are often outdoors, laminate these paper toppers or use plastic picks to prevent humidity damage. A beach ball circle topper is easy: just cut a circle and piece together the colored segments.
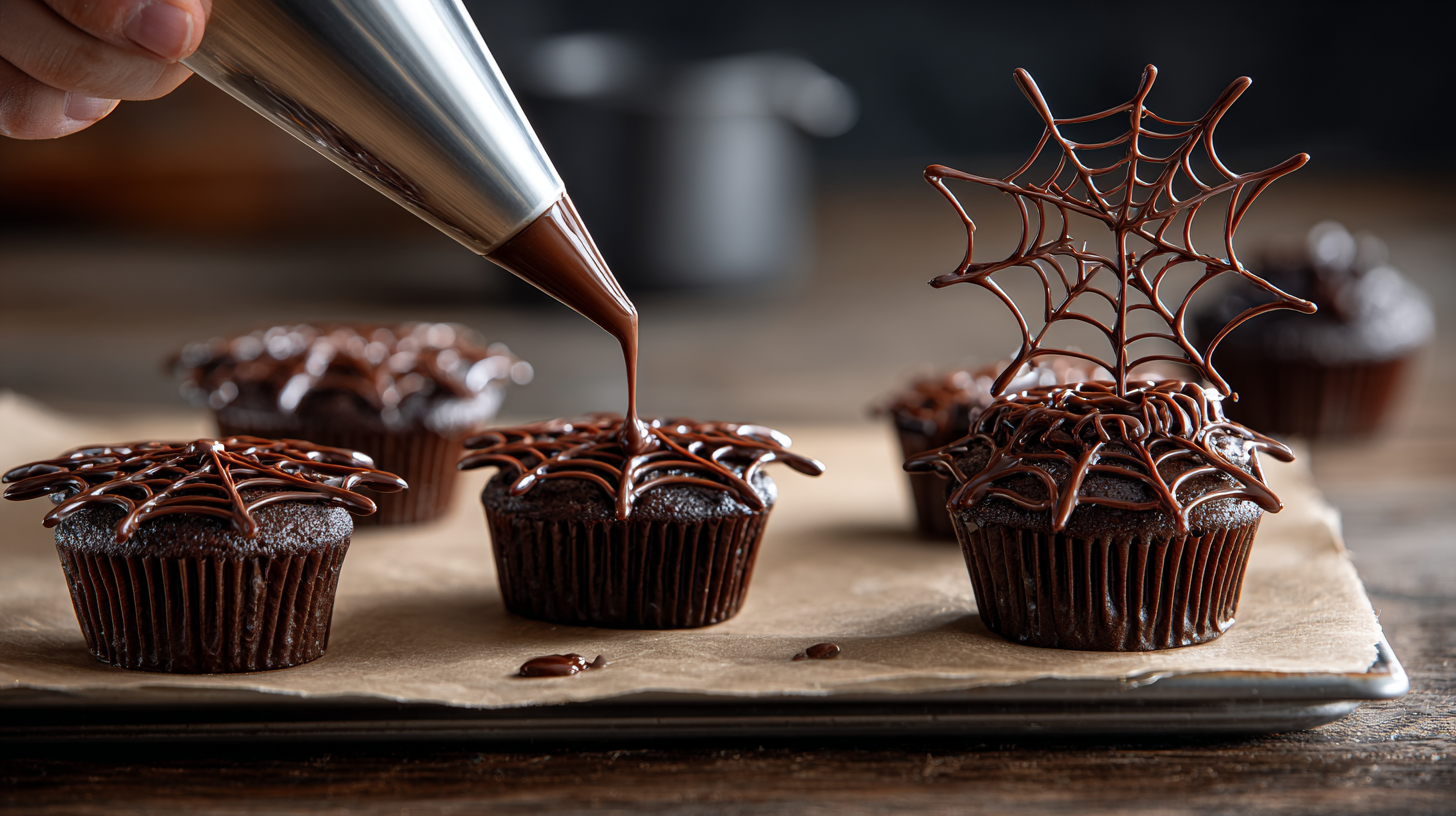
Halloween Birthdays It is a fun mashup. Use a classic orange and black palette. A ghost holding a balloon or a pumpkin wearing a party hat bridges the gap between spooky and celebratory. Spider webs made of piped chocolate (we will get to that in the edible section) are a hit with kids and adults alike.
Adult and Sophisticated Themes
Not every party needs characters. Sometimes you just want elegance.
Dinner Parties Keep it minimal. A small, simple monogram of the guest of honor’s initial in gold cardstock is understated and classy. Alternatively, use natural elements. A sprig of fresh rosemary or a food-safe edible flower (like a pansy) acts as a beautiful, organic topper that requires zero crafting—just careful washing.
Hobby-Based Themes These show you know the person.
- Golf: A simple white circle with dimple details drawn on (a golf ball) sitting on a green “grass” circle.
- Books: Punch circles from old, damaged book pages (thrift stores are great for this) and layer a heart or initial on top.
- Wine: Silhouettes of wine bottles or grape clusters in burgundy cardstock.
Making Edible Cupcake Toppers: Tutorials for Every Skill Level
If you want everything on the cupcake to be consumable, these tutorials are for you. Edible toppers elevate the dessert experience because guests don’t have to peel anything off before taking a bite.
Beginner Fondant Toppers — Starting Simple
Fondant has a reputation for being difficult, but simple cutout shapes are basically just adult playdough.
The Setup Don’t try to mix your own colors. Buy pre-colored fondant (brands like Wilton or Satin Ice). It saves hours and ensures vibrant color. You will also need a small rolling pin and cornstarch to dust your surface.
The Process
- Prep: Knead a small ball of fondant until it is warm and pliable. If it is sticky, dust your hands with cornstarch.
- Roll: Roll it out to about 1/8 inch thickness. If it is too thin, it will crack; too thick, and it is unpleasant to eat.
- Cut: Use small cookie cutters or fondant plungers. Circles, stars, and hearts are perfect starting points. Press down firmly and jiggle slightly to get a clean cut.
- Dry: This is the secret step. Move your cut shapes to a sheet of parchment paper. Let them air dry for at least 24 hours (48 is better). They need to harden so they stand up on the cupcake.
- Assemble: Once hard, you can stick them directly into the frosting. If you want them to stand tall, you should have inserted a toothpick into the bottom edge while the fondant was still soft.
Insider Tip: To attach pieces together (like a white dot on a red mushroom cap), use a tiny brush dipped in water. The water melts the sugar just enough to act as glue.
Royal Icing Piped Toppers — Building a Skill
Royal icing dries rock hard, making it perfect for making toppers ahead of time.
The Mix Always use meringue powder, not raw egg whites. It is safer and more stable. Mix 3 tablespoons of meringue powder with 4 cups of powdered sugar and about 5 tablespoons of warm water. Beat it until stiff peaks form.
The Technique
- Template: Tape a drawing of your design (a flower, a number, a snowflake) onto a baking sheet. Tape a sheet of wax paper directly over it.
- Pipe: Fill a piping bag with your icing. Trace the outline of your shape first. Then, fill in the center (flood it). Use a toothpick to swirl the icing into the corners and pop any air bubbles.
- Dry: Let these dry completely. I mean completely. Leave them overnight or even for two days. If you peel them off the wax paper too soon, they will snap.
- Apply: Carefully peel the dried shape off the paper and press it gently into the cupcake frosting just before the party.
Chocolate and Candy Melt Toppers — Quick Impact
This is my favorite “cheat” for impressive toppers. You get the look of a chocolatier with minimal effort.
Chocolate vs. Candy Melts I recommend Candy Melts for beginners. Real chocolate requires tempering (a precise heating and cooling process). If you skip tempering, real chocolate gets streaky and melts in your hand. Candy Melts just need to be melted and used.
Using Molds Silicone molds come in every shape imaginable—seashells, legos, letters.
- Melt your candy wafers in the microwave in 30-second intervals, stirring in between.
- Spoon the melted candy into the mold. Tap the mold on the counter to release air bubbles.
- Place the mold in the fridge for 15 minutes.
- Pop the shapes out. They are ready to use immediately.
Freehand Piping Put melted chocolate in a squeeze bottle or piping bag. Pipe shapes like spiderwebs, abstract swirls, or names onto parchment paper. Let them harden in the fridge. These are fragile, so make 20% more than you need to account for breakage during placement.
Where to Buy Cupcake Topper Supplies and Pre-Made Toppers
You don’t have to hunt for supplies in the wilderness. Here is where I shop for the best balance of price and quality.
Craft Supply Sourcing — Getting Materials Right
Big Box Stores (Michaels, Joann, Hobby Lobby) These are your go-to for basic cardstock and tools. The secret here is coupons. Never pay full price for a Cricut mat or a heavy paper pack. Download their apps and use the “40% off one item” coupon for your most expensive supply. Their selection of seasonal stickers and embellishments is also reliable.
Online Craft Giants (Amazon, Consumer Crafts) Amazon is unbeatable for speed. If you need 100 lollipop sticks by Thursday, this is your spot. However, quality can be hit-or-miss with unknown brands of cardstock. Read reviews carefully to ensure “glitter paper” doesn’t shed. For specialty items like specific fondant colors or high-end luster dust, I prefer dedicated baking sites like Sweetapolita or BakeDeco.
The Dollar Store Do not underestimate the dollar store. I buy all my foam mounting tape (for layered toppers) and basic toothpicks here. Sometimes you can find themed stickers or die-cut shapes in the school supply aisle that work perfectly as topper bases. It is a low-risk place to experiment.
Restaurant Supply Stores If you plan to bake often, look for a local restaurant supply store open to the public. You can buy piping bags, tips, and food coloring in bulk for a fraction of craft store prices.
Pre-Made Topper Sources — When DIY Isn’t the Answer
Sometimes, you just run out of time. That is okay.
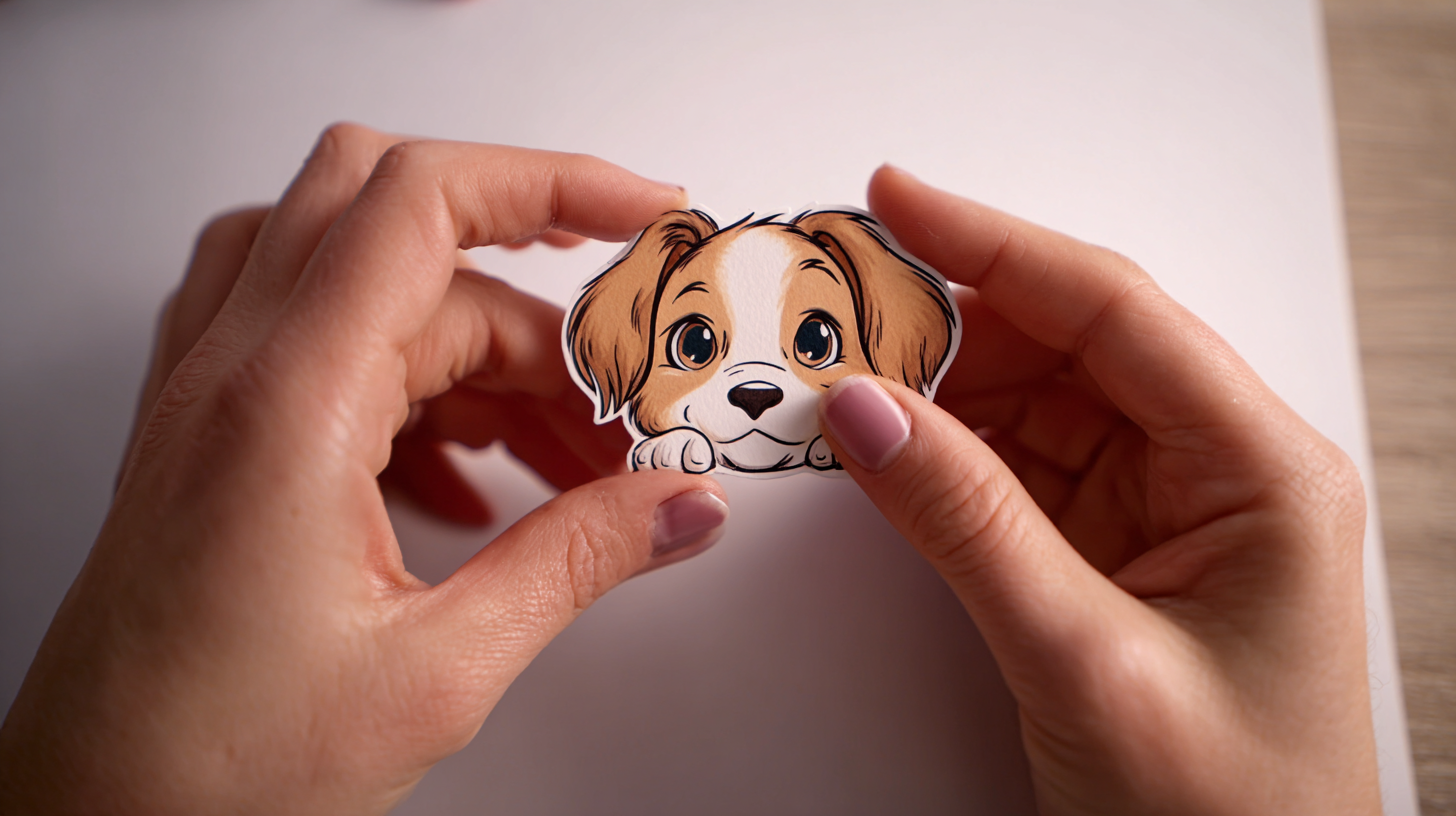
Etsy This is the gold standard for custom cupcake toppers. You can find artists who will create custom illustrations of your dog, glittery names in specific fonts, or edible fondant figures that look like art. Plan ahead. Custom work takes time. Order at least 3 weeks in advance to account for creation and shipping.
Local Bakeries Many bakeries will sell you just the decorations. If you want professional fondant flowers but want to bake the cupcakes yourself, ask your local bakery if they sell fondant toppers by the dozen. It is a great hybrid option.
Budget Strategy — Maximum Impact, Minimum Spend
If funds are tight, spend money on what guests actually see.
- Prioritize the Paper: Buy high-quality, shimmer cardstock for the topper itself. Use cheap wooden picks for the hidden support. No one looks at the stick.
- Mix and Match: You don’t need an elaborate topper on every single cupcake. Make 12 fancy “feature” toppers for the top tier of your stand, and use simple sprinkles or a single berry on the remaining 24 cupcakes. It looks intentional and saves you half the work.
- Buy in Bulk: If you have multiple kids or host often, buy a bulk pack of 500 lollipop sticks. They never expire, and the unit cost is tiny compared to buying small packs of 20.
When Cupcake Toppers Go Wrong: Fixes and Prevention
I have had toppers fall apart an hour before the party. It happens. Here is how to fix the most common disasters.
Structural Failures — Toppers That Fall, Flop, or Break
The Flop: If your paper topper is curling or bending over, your cardstock is too light.
- The Fix: Glue a second layer of cardstock (even plain white) to the back of the topper to stiffen it. Or, add a second stick to create a wider base of support.
The Fall: If the topper slides down the stick.
- The Fix: Your adhesive failed. Hot glue is the emergency repair hero here. A small dab at the connection point usually holds fast. For future prevention, ensure you are pressing the paper firmly into the glue while it is still hot.
The Crumble: If fondant toppers are cracking.
- The Fix: They dried too fast or were moved too roughly. You can try to “spackle” the crack with a tiny bit of soft fondant mixed with water, smoothing it with your finger. If it is beyond repair, just eat the evidence and leave that cupcake bare (or add sprinkles).
Appearance Problems — Colors, Printing, and Finishing
The Grease Spot: You notice dark blotches creeping up your paper topper.
- The Fix: This is grease migration from the frosting. You cannot reverse it. Remove the toppers immediately until serving time. For the remaining fresh ones, ensure the paper sits at least 1/4 inch above the frosting line.
Rough Edges: Your scissor cuts look jagged.
- The Fix: As mentioned in part one, the marker trick saves the day. Run a marker matching the paper color along the edge. It hides the white core and smooths out the visual line. Also, check your scissor blades—if they are dull, they tear paper instead of slicing it.
Timeline Disasters — When You’re Running Out of Time
The Night-Before Panic: It is 11 PM and you have 40 toppers left to assemble.
- The Fix: Simplify. Immediately. Stop doing the three-layer design with the rhinestone. Switch to a single layer. Or, do every other cupcake. A display with alternating topped and plain cupcakes looks stylistic, not incomplete.
The Shipping Delay: Your Etsy order is stuck in transit.
- The Fix: Go to the grocery store. Buy fresh fruit (strawberries, raspberries) or a bag of chocolates that match your color scheme. A fresh raspberry on a white cupcake is elegant and intentional. Don’t apologize for it. It is a design choice now.
Your Custom Cupcake Toppers: From Idea to Party
We have covered a lot of ground, from the weight of your cardstock to the temperature of your chocolate. I hope you see now that cupcake toppers are not just for professional party planners. They are the most accessible, high-impact tool in your DIY arsenal.
You don’t need to be a sculptor to make a fondant star & you don’t need a degree in graphic design to print a circle tag. You just need the right materials and the confidence to start. Remember, the gap between “I want those” and “I made those” is usually just a little bit of glue and patience.
Don’t feel pressured to do it all. If you want to bake the cupcakes from a box mix so you have time to craft elaborate toppers, do it. If you want to buy store-bought cupcakes and add a simple handmade paper heart, that is perfect too. The goal is to create a celebration that feels personal and festive, not to exhaust yourself.
Mix your methods. Buy the complex characters, make the simple number cutouts. Use a template. Cheat with a craft punch. Your guests won’t be inspecting your glue dots; they will be admiring the overall effect of a beautiful dessert table.
Now, go create something amazing. And when you are done, check out [[Cupcake Displays & Dessert Tables for Birthday Parties]] to see how to show off your hard work, or read [[Cupcakes for Birthday Parties: Planning, Scaling, and Presentation]] for baking tips. If you are still finalizing your overall look, [[Matching Cakes and Cupcakes to Birthday Party Themes]] has even more ideas.
Frequently Asked Questions About Cupcake Toppers
How far in advance can I make paper cupcake toppers?
You can make paper toppers weeks or even months in advance. This is one of their biggest advantages. Once assembled, store them flat in a rigid box (like a Tupperware container or a shoebox) to protect them from getting crushed. Keep the box in a cool, dry place away from direct sunlight to prevent fading. If you are using glue sticks, they can sometimes become brittle over months, so double-check the adhesion a few days before the party.
Can I put paper cupcake toppers directly in frosting?
Technically yes, but with a warning. Standard cardstock is porous. If it touches butter-based frosting (buttercream) or whipped cream, it will absorb the oil and moisture. Over a few hours, this creates dark, soggy spots on the paper. To prevent this, either position the topper so only the food-safe pick touches the frosting, or spray your paper toppers with a clear acrylic sealer before assembly to create a barrier.
What’s the best way to make cupcake toppers for outdoor parties?
Outdoor parties battle wind, heat, and humidity. For wind, keep toppers low profile—tall, wide toppers act like sails and can blow the cupcake over. If its hot, avoid chocolate or thin royal icing which might melt. For humidity, avoid thin paper (it curls) and wafer paper (it wilts). The best outdoor toppers are laminated paper, plastic picks, or sturdy fondant/gum paste that has fully hardened.
How do I make toppers with my child’s photo on them?
You have three routes. 1) Home DIY: Print the photo on photo paper, cut it into a circle, and mount it on a slightly larger cardstock circle for rigidity. 2) Edible: Order custom edible images (printed on frosting sheets) from a bakery or online supplier. You just peel and stick these directly onto the frosting. 3) Professional Print: Order cardstock photo toppers from a shop on Etsy where they use high-quality laser printers that resist fading and moisture better than home inkjet printers.
Are cupcake toppers safe for young children?
Safety is a priority with toddlers. Standard toppers use toothpicks or wooden skewers which can be sharp and are choking hazards. For parties with children under 3, I strongly recommend removing the non-edible toppers before serving the cupcake to the child. Alternatively, use only safe, edible toppers (like a soft fondant shape or a large cookie) and skip the picks entirely. Always supervise young kids with decorative food.
How many cupcake toppers should I make for a party?
You do not strictly need a topper for every single cupcake, especially for large events. A great visual trick is to top about two-thirds of the cupcakes. Arrange the topped cupcakes on the higher tiers of your stand and the plain (or sprinkled) ones on the bottom. It looks intentional and saves you 30% of the work. However, if the topper is a specific party favor (like a toy ring or figure), make one for every child to avoid tears!


Leave a comment
You must be logged in to post a comment.